

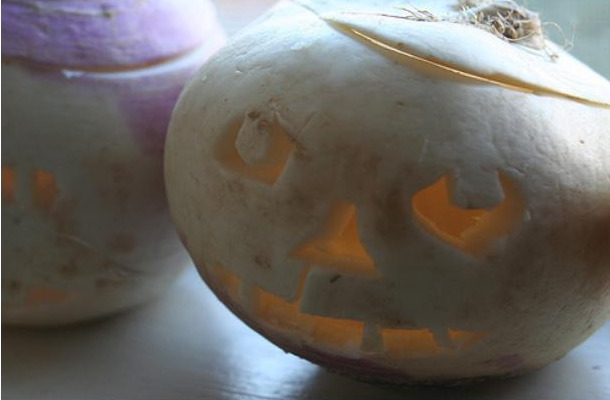
Love those pumpkins!
Carving pumpkins is a very American thing to do at Halloween. The traditional vegetable was a turnip and that began in medieval Britain and Ireland. Once the tradition had been brought to the Americas, pumpkins were the more plentiful resource so the turnips were spared and the evolution of the pumpkin lanterns began.
The name Jack-O-Lantern comes from a tale that has been traced back to the 1660s and was applied to the carving of pumpkins in the early 1800s.
Jack was a lazy, dishonest man who tricked the Devil in one of several different ways, according to folklore. He ultimately freed the Devil upon the promise that his soul would not be taken.
When it was Jack’s turn to die, Heaven would not take him and the Devil had bargained not to either. Jack asked where he would go, he could not see anything. The Devil tossed him an ember from the depths of Hell that would never go out and Jack carved himself a lantern from his favorite food, a turnip, and was destined to walk the Earth alone forever.
 I
I
It is said that the scary faces we carve into our pumpkins are to scare away anything evil that might think of messing with us. Nowadays, pumpkin carving has become something of an art form, with the intricate designs and sculptures that are being done. But, rest assured, there is absolutely nothing wrong with a good old fashioned triangle eyed and jagged toothed pumpkin on your doorstep.

To me, carving them with my family was all about the memories. Then, when the kids went out dressed in their vampire or Imperial Storm Trooper Costume, they would love seeing the pumpkins they created glowing in the evening light. Now, doing them alone, I enjoy the more complex designs. But the best part is cooking me some pumpkin seeds!
So finding your pattern is your first step. It needs to fit the face of the pumpkin you found. If it doesn’t, keep looking. You can find patterns online or at the store in books.
Then, cut open the top to form your lid, unless the directions say otherwise. Some will have you open the back up completely with no lid!
With a large heavy spoon or the scraper that comes with the book, scoop out the guts and thin out the walls for easier carving. Most directions will tell you how thick they should be ideally.
Next, trace your template onto the outside of the pumpkin. For nice simple patterns, a Sharpie works amazing. For store bought kits, you punch little holes along the lines of your picture.
Now is the fun part! Taking a knife, cut out your design and watch it come to life! The set you bought at the store comes with several different knives for all types of cuts.
When I finish up, I can’t even wait for Halloween night to come, I’m out there lighting a candle in mine and snapping pictures of my hard labor. If you have children, expect to go back inside and carve a few more…their attention span doesn’t usually make it through one whole pumpkin! But make it a night to enjoy, make a few memories and teach them things to pass to their children…maybe even the story of selfish Jack!


